If you would like to use Microsoft Outlook to connect to your e-mail account, follow the instructions below. This article was written using Outlook 2010. The setup using other versions of Outlook should be very similar.
Step 1 – Open Microsoft Outlook. If this is the first time you have opened it, it will greet you with setting up an account. Skip to Step #5.
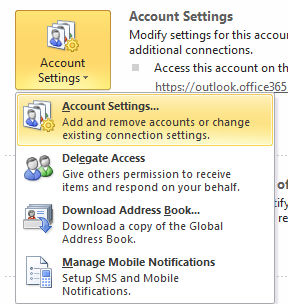
Step 2 – Click the “File” menu at the top left, click the “Account Settings” button and then “Account Settings…”
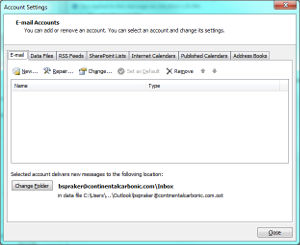
Step 3 – An “E-Mail Accounts” dialog box appears. Now click the “New…” button.
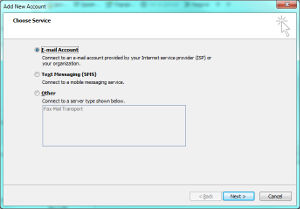
Step 4 – Ensure that “E-Mail Account” is selected on the next screen and then choose Next.
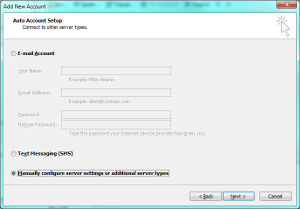
Step 5 – Choose “Manually configure server settings or additional server types” and then hit Next.
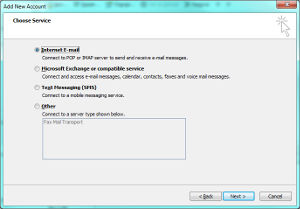
Step 6 – Choose “Internet E-mail” and then hit Next.
Step 7 – Now, fill in the information to configure the account. Enter your name and e-mail address. You may select either POP or IMAP as the “Account Type”.
IMPORTANT: If you choose IMAP, all of your email will be stored on the server until you delete it. If you have a basic email account and not an upgraded account, the mailbox will fill up quickly and prevent new messages from coming in until you are under your mailbox limit.
The incoming and outgoing mail server should be set to – mirror1.bsntech.com. In the User Name box, ensure you enter your FULL e-mail address.
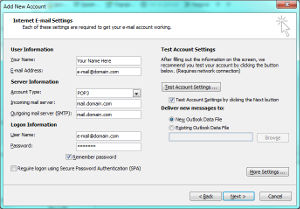
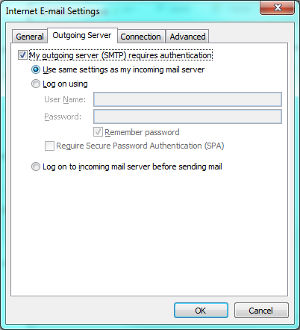
Step 8 – Now, click the “More Settings…” button at the bottom right side and then click the “Outgoing Server” tab.
Step 9 – Click the “My outgoing server (SMTP) requires authentication and ensure the “Use same settings as my incoming mail server” is selected.
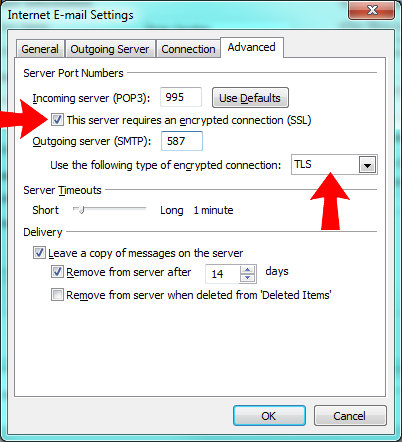
Step 10 – Click the “Advanced” tab and make these changes:
- If you chose POP on the prior step, ensure the Incoming server (POP3) port is set to 995.
- If you chose IMAP on the prior step, ensure the Incoming server (IMAP) port is set to 993.
- The Outgoing Server (SMTP) port should be set to 587
- Check the option that says “This server requires an encrypted connection (SSL)”.
- In the drop-down box for “Use the following type of encrypted connection”, choose “STARTTLS”
- Then click the “OK” button.
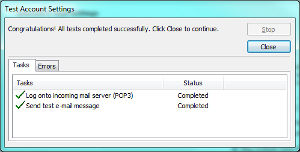
Step 11 – This will return you back to the page that has your name, e-mail address, and other information. Click the “Next” button. Outlook will then attempt to connect and ensure that it can reach the mail server and ensure the settings are correct.
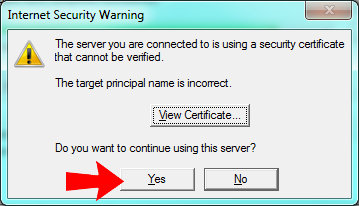
Step 12 – Upon checking your e-mail for the first time, you may or may not receive a pop-up box noting that a security certificate is being used that cannot be verified (as shown below). This is because BsnTech Networks uses a shared SSL security certificate for all customers. Simply hit the “Yes” button to continue.