The end of the bathroom project is finally upon us! There is only a few little things that need to be done – the mirror installed over the vanity – and a more permanent fix for the toilet rocking side to side.
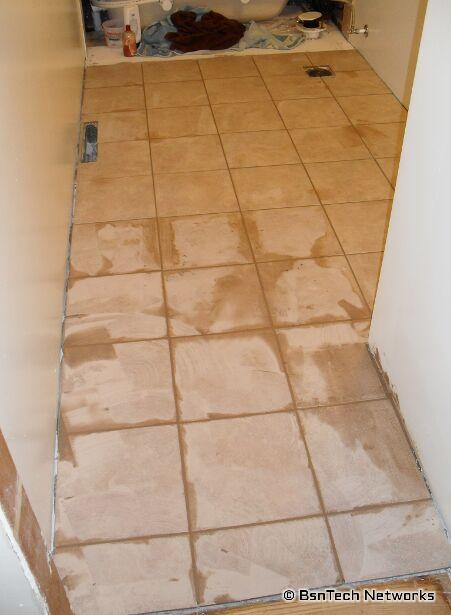
On Thursday, the grouting for the flooring was done. All of the tiles were put into place on Wednesday – except the last row that was to be right next to the tub support. That row of tile went in on Friday along with the tub support wall. The tub support wall needed to be in place before the last row of tile could be cut – so that way the measurements could be made.
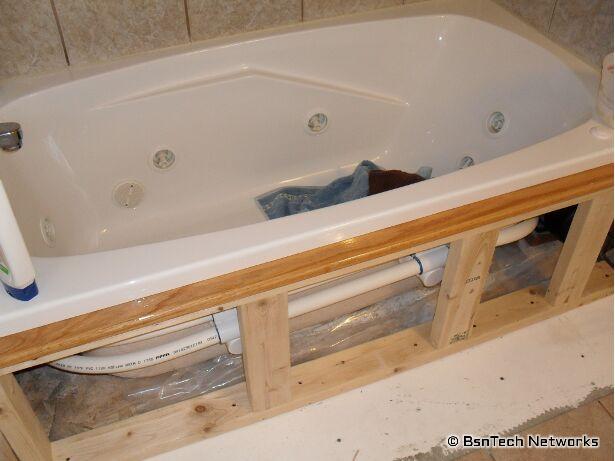
On Friday, a lot was done. The wall support for the tub was put in with the finished top plate that was varnished six times to hopefully keep water from getting to the wood:
The cabinet and vanity were installed and put in place:

And the toilet was installed:
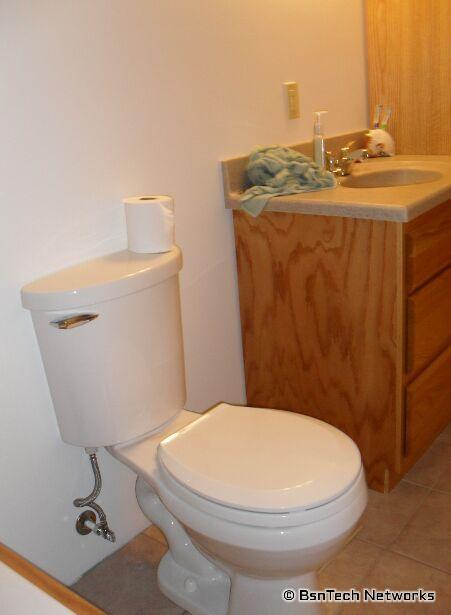
Unfortunately, as said earlier, the toilet rocks from side to side. This is because the tile isn’t 100% level and on the right side of the toilet, the tile seems to be maybe 1/16-th or 1/8-th of an inch lower than the tile on the left side. This doesn’t sound like a lot, but it really makes the toilet rock back and forth a lot! Currently I have three shims that are placed on that side to keep it from rocking – but this isn’t a permanent solution.
Also on Friday, the last row of tile next to the tub was put in (don’t have a picture of that).
Saturday saw the next steps done. The last row of tile was grouted and the wainscotting was attached to the tub support.
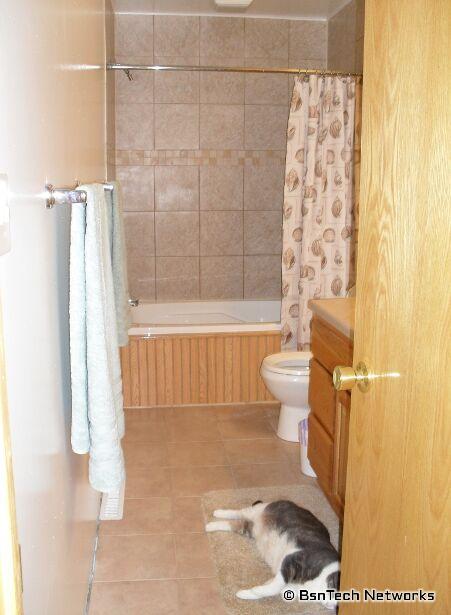
It looks almost like a finished bathroom! Kitty is sure liking the new bathroom and is taking advantage of the rug in there. Also on Saturday, the door was put up as well. The trim around the door and baseboard was also cut and two coats of varnish was applied to them.
On Sunday, the last final touches were done – the baseboard and trim were finished up.
The last thing to do is get the mirror put in place. I was putting the trim around the mirror and was using small brad nails and nailing the trim to the luan board that holds everything together. Unfortunately, I put one of the brad nails right through the mirror and it cracked it down the whole thing! So I had to order another mirror – and it may take up to a month to get in. The size was 20×24 for the mirror and it has to be the same size so I can re-use the pre-cut trim that is already made.
So, the bathroom is almost fully completed! It looks much better than the old, dated room that it once was with the yellowing flooring and the paint chipping off the walls and ceiling.
Moving onto the August garden update.
The garden doesn’t have much going on. The majority of the crops are all done for the year. One thing I’ve learned this year is to NOT use the Greencrop green beans again! I’ve had quite the problems with this variety of green bean. We only got about 10% of the green beans this year as we did last year. They just don’t seem to grow very well and the green beans seem to be very limp. I purchased this variety from FedCo Seeds because they were advertised as being a good producer and producing long green beans. While the beans do seem to be long, I think they are comparable to the Bush Blue Lake varieties that we used last year. The Greencrop beans also seem to be flat – almost like peas!
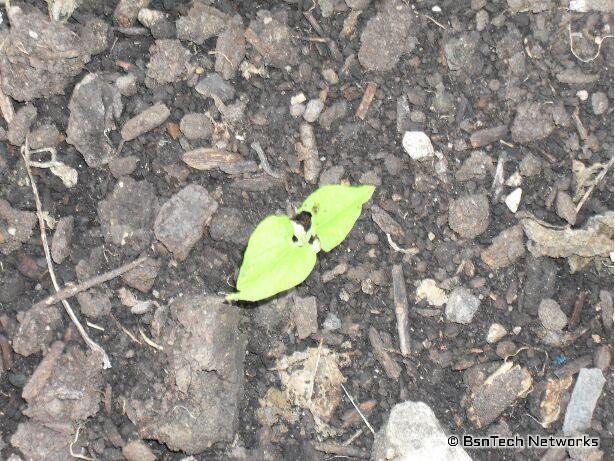
Here is the area where I planted all new Greencrop green beans in the front garden after the corn was taken out. They are not doing much of anything and just look horrible.
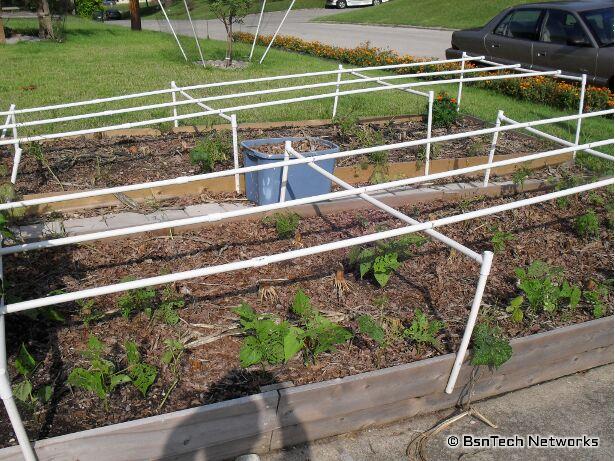
The beans were planted six inches apart from each other in three rows – and the rows are about 20 inches apart. You can see many holes where they didn’t sprout or come up. Most of them did – but just died later.
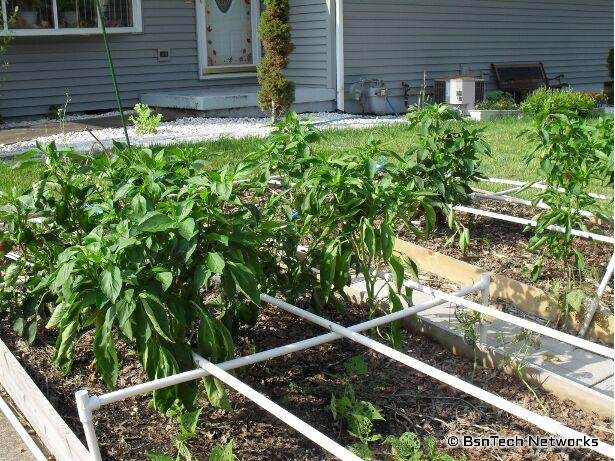
The peppers that are right in front of the green beans are still coming along well. I’m not too sure of the epsom salt that was added a while ago did anything for the peppers – but the weather has cooled down a bit which has helped out.
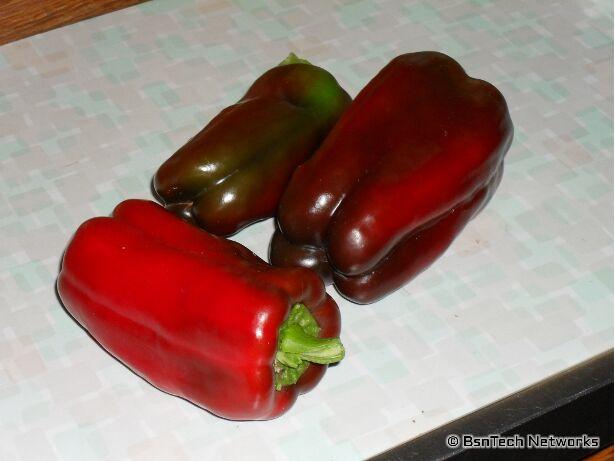
While I was taking pictures, I found three peppers that were just turning red so they were picked.
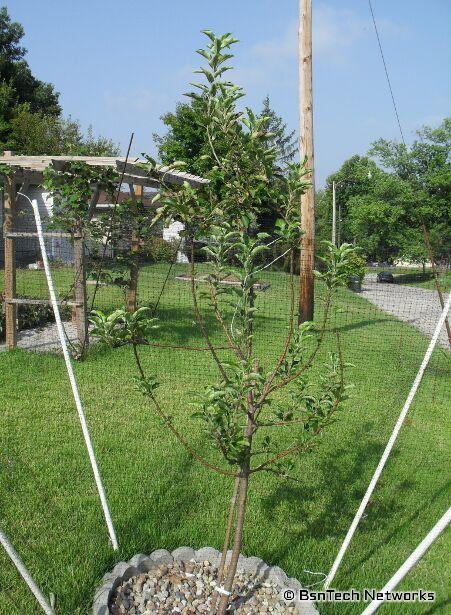
In the middle of the front yard, the Granny Smith apple tree is doing alright. It has put up one long stem that is growing well.
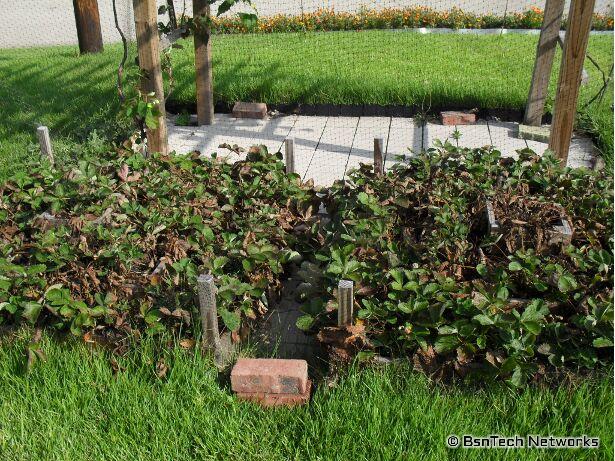
Over by the strawberry bed, it looks horrible. The heat has really caused major damage to the strawberries. I’m hoping that some of them can come back – but I bet we won’t have any more strawberries for the rest of the year – and will have much less next year as the strawberries try to re-establish themselves.
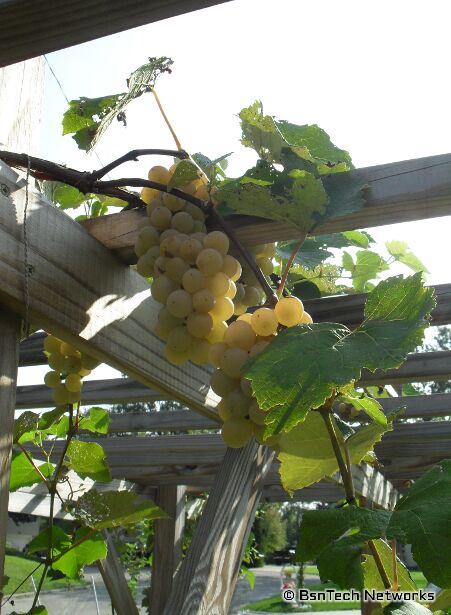
One of the grape plants – the Flame Bunch grapevine – has the grapes still coming along well. They are just beginning to turn a little bit of color.
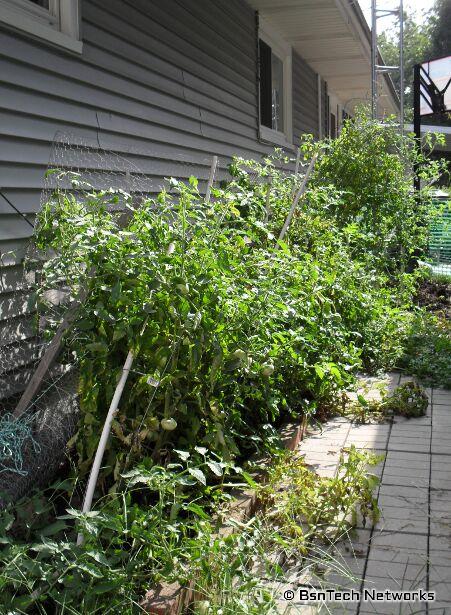
Next – going to the side garden. The tomatoes are still doing very well. There does seem to be something that is getting into the Best Boy tomatoes though. I’ve noticed that both the cherry tomatoes and the Roma tomatoes do not seem to be affected by this. It almost looks like something is taking a very small bite out of the tomatoes that just take the top flesh off. Other times there are large holes in them – which I suspect is insect damage.
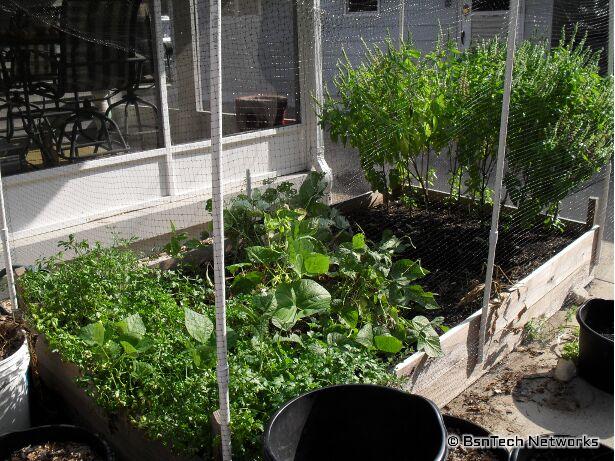
And to the back garden. This is where the row of potatoes were taken out. I also had some Greencrop green beans planted right next to the row of potatoes that were removed as well. The only thing left back here is the Straight Eight cucumber plants, the Burpee Pickler cucumber plants (which are dying off), and a row of potatoes that are in the same row as the cucumbers against the garage. You can see the dead potato vines lying on the ground. I need to get back there and dig those up – but I’m afraid I will interfere with the cucumbers.
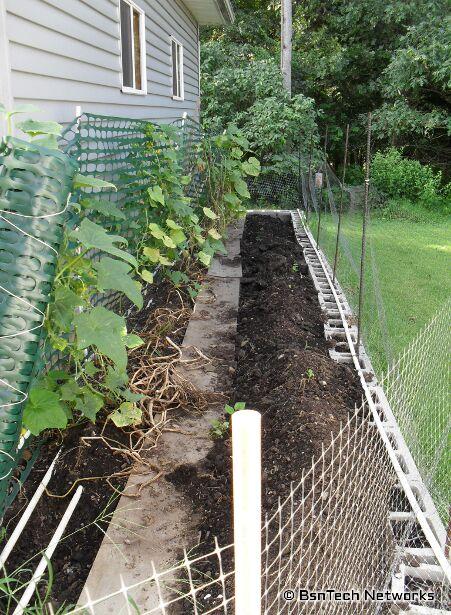
Notice some growth to the right side of the boards that are put down? Those are Greencrop green beans! While I was digging up those potatoes, I buried the green bean plants. Apparently some of those seeds must have sprouted are are germinating.
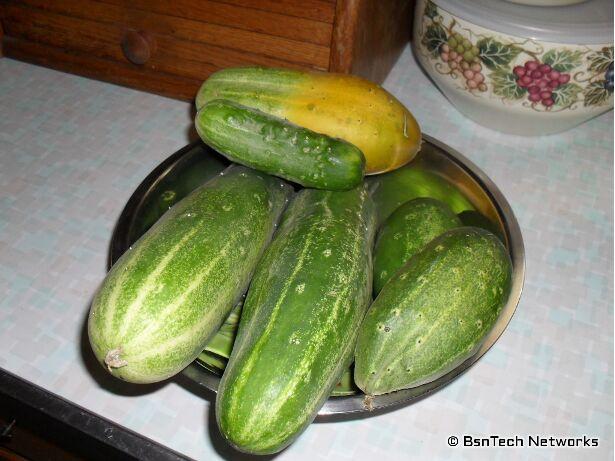
We got a good selection of cucumbers on Sunday as well. Two large Straight Eight cucumbers along with a small one – then three small Burpee Pickler cucumbers. We’ve got more than we can keep up with now.
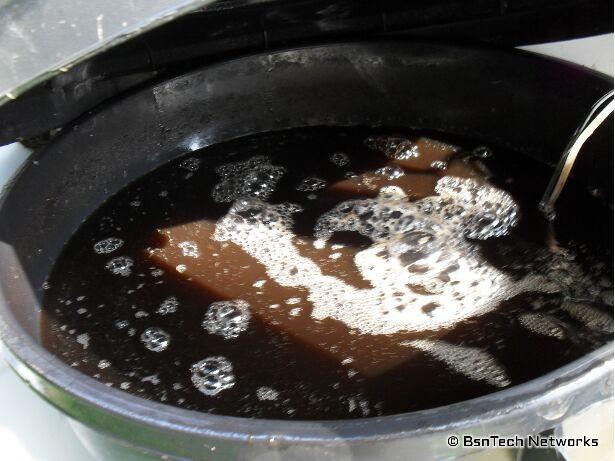
I also poked my head around to the back side of the garage where the rain barrel system and compost tea system is. I have plenty of compost tea to use – a full 32 gallon container of it! I haven’t been too good at keeping up the compost tea treatments to the plants recently because of the bathroom project. But it is getting late in the season anyways.
The last area to check out is the patio garden. I pulled a few green beans off of these plants – but again, some of them have already died. Many of the green beans were limp and were not usable, so they were just thrown back into the area.
I also cut several sprigs of basil off – one sprig from each plant. It came to just over four ounces of leaves by the time I was done.

Notice the brown parts on the basil? That is the flower pods where the seeds form.
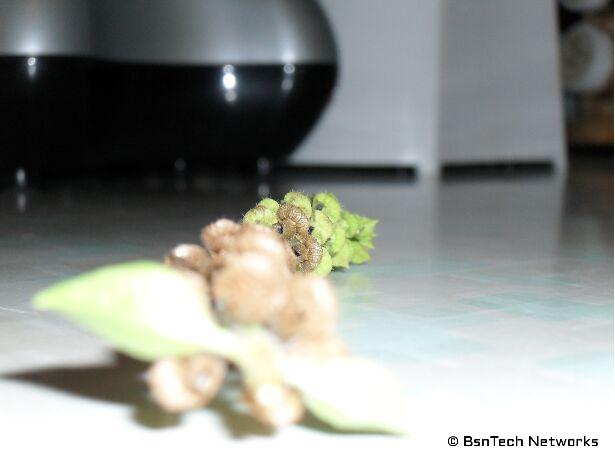
I tried to get a side view of this flower/seed pod so you can barely see a few black spots. Those are the seeds! The seeds of basil are very small. I rubbed each individual flower pod between my fingers back and forth and this freed up the seeds and the seeds then dropped onto the counter.
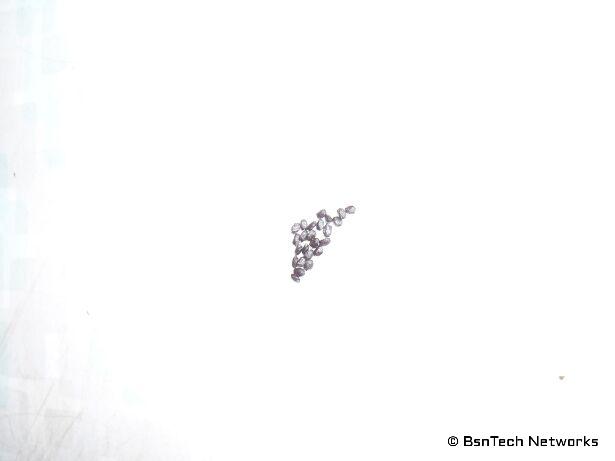
Not a very good photo of the seeds, but they are small, oval-shaped and black. By the time I was done getting all of the seeds, I had probably well over a thousand! I only need about 40-60 for next year and I’ll give some away to my buddy in Tennessee since he wasn’t able to save any seed this year for his basil plants.
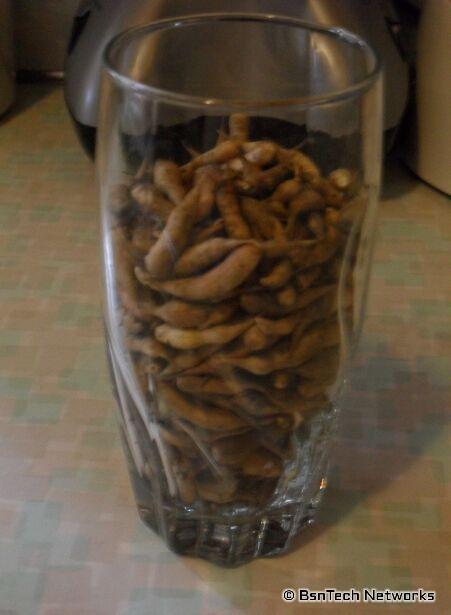
Speaking of seeds, a few weeks ago I cut down the large radish plant that was growing in the front garden that I was saving for seed. All of the seed pods were brown and ready to be picked. So I pulled off the seed pods from the plant and placed them in a container. I still need to go through and crack open each pod to get the seed (wow will that be a job!).
That is all for the garden update!