A couple of weeks ago, our Gateway MT3422 laptop wouldn’t boot up. We noticed that over the couple of weeks prior, the laptop would freeze up and sometimes a lot of different colors would fill the screen. We would then need to perform a hard-boot on the Gateway MT3422 laptop.
Well, to our dismay, when we tried to turn the laptop back on, the laptop would turn on, the CD-ROM drive would blink a couple of times, but nothing would appear on the screen. We left it sit for about five minutes – and still nothing would come on the screen.
That means that the MT3422 laptop wouldn’t perform it’s POST operation.
When it comes to laptops, there really is only one thing to replace in this case – and that is the motherboard. The power was clearly working, the battery was fine, CD-ROM and hard drives were fine – so it was the motherboard.
I found a motherboard online for just under $85 online. I searched the Internet to try to find a video tutorial or something that would help me take apart the Gateway MT3422 laptop – but nothing could be found. So I wanted to ensure I could take the laptop apart before ordering it.
Certainly was able to do so! So, here is a tutorial on how to do it. I’ve also shown the YouTube video on how to do it as well. I apologize in advance for the bad quality of the pictures below – as I took screenshots of the video to show the step-by-step here as well.
1. Remove the battery. Ensure that you remove the battery before going any further.
2. The next step is to remove the two covers that cover the wireless card and the memory. There is a screw for each of the covers. Simply unscrew the cover.
3. There are tabs on either side of the memory that will release the memory. Push the tabs out and the memory will pop up.
4. With the wireless card, there are two wires connecting it – a black and gray wire. The black wire is to the left (next to the large silver box) and the gray is to the right. The wires snap off very easily. After you get the wires removed, there are the tabs on both sides – push those out and the wireless card will come up.
5. Next, you will need to remove all of the screws on the back. There are screws around the perimeter. There are three different sizes of screws. Two screws are where the hard drive is towards the front of the laptop:
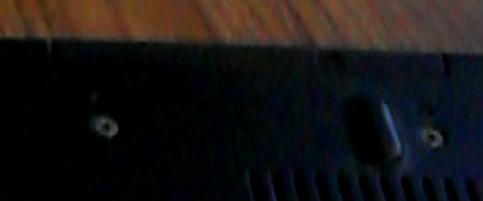
These screws are very short and they have a different “bit” type for taking them out. A Phillips screwdriver will get them out – but make sure you use these screws when re-assembling.
Next, there are five other screws that are larger than the hard drive screws – but smaller than the others. Two of the screws are found under the battery area, on the back of the laptop, and one is over by the CD-ROM drive.
There is then one long, silver screw that is used to hold the CD-ROM drive in. Ensure you use this same screw when re-assembling as well.
Lastly, there are other screws that are longer than the hard drive screws and the five other shorter screws, but shorter than the CD-ROM drive screw. These screws are black like the others. I can’t recall at this time how many of them there are – but I believe there are seven of them.
6. After all the screws are out, remove the CD-ROM drive by pulling it out – and remove the hard drive by pulling it out. Under the hard drive bay, you will find two more screws that need to be removed. These are also the black long screws as well.
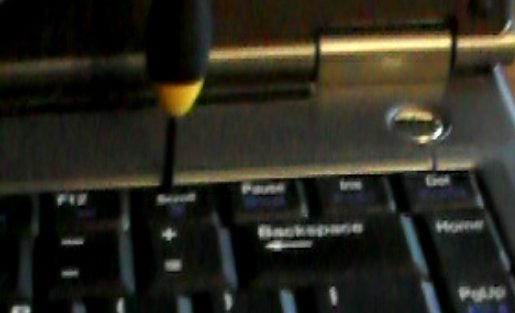
7. Now, turn the laptop over and open the lid. There is a plastic piece that runs above the keyboard. You will need a small flat screwdriver to place just above the keyboard and be very careful to pry up the plastic piece. It runs the full width of the Gatewya MT3422 laptop with four or five areas you will need to pry up on.
8. After you have the plastic loose, the plastic also covers up the hinges of the LCD display. Behind the LCD display by the hinge, pry the plastic up just enough to release it. Then you will need to tilt the LCD display all the way back to remove the plastic.
9. After you have the plastic up, you should be able to push the keyboard up slightly towards the LCD display and lift up a bit. There is a ribbon that connects the keyboard to the laptop. There are two black plastic tabs on either side of the connector holding the ribbon in. Pull those straight down from the white connector to release – then the ribbon and full keyboard should come out.
10. The next step is to remove the display. There are four screws holding in the display – two on either side. On either side, there is both a black and a silver screw. The silver screw is connected to the gray-looking fiber. The black screw is on the plastic. After these screws are removed, there is then a connector that connects the display to the motherboard on the left side. Gently pull the wire connected to it towards the LCD.

11. There are then a total of six screws that holds down the silver plastic, palm rest, and touch pad over the top of the motherboard. Two of the screws are in the upper left and right – just where you removed the LCD display. There is then another screw in the lower right above the palm rest, once straight above the palm rest towards the top, and two over on the right-hand side. These all need to be removed and then you will almost be able to pull up the whole plastic piece.
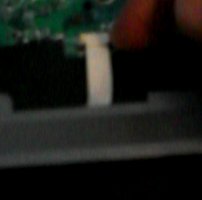
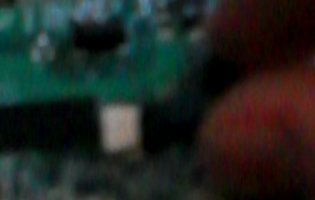
12. There is a small connector that connects the touchpad to the motherboard as seen below. It is just above the touchpad. There are two black tabs on either side of this connector – just like the keyboard. Pull these two black tabs straight down and gently pull the white ribbon cable out of it. You should now be able to lift off the entire plastic that covers the motherboard.
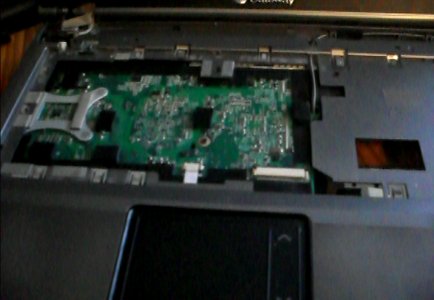
13. You should now see the full motherboard. There are two speakers in the front that now need disconnected. Each have their own wire and connector on the motherboard. Gently pull the wire out away from the connector to remove them.
14. After the speakers are removed, it is time to remove some screws to be able to pull the motherboard out. One screw is over on the left-hand side of the motherboard at the top. Another screw is towards the center of the motherboard. Another screw is then down at the bottom right of the motherboard. And a final screw is on the upper-right hand side of the motherboard. Remove all of these.
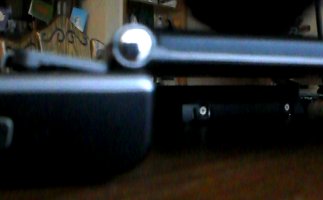
15. There are then two silver screws in the upper-right. One of them holds the motherboard to the power outlet – and the other holds the power outlet into the bottom plastics of the laptop. The smaller screw holds the power connector into the motherboard and the longer screw holds the power connector into the bottom plastics. Both of these need removed.
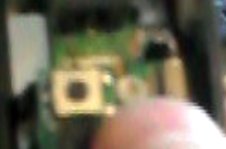
16. Now, you should be able to fully remove the motherboard! You will have to be gentle and pry on the right-hand side where the VGA connector is – because it is under the plastics of the laptop. So pull the plastic out away from the laptop gently to release the VGA connector and lift up on the board. You should then be able to take it right out!