I took the day off on the 25th to get the new bed filled in. We finally got all of the Zoysia grass removed from the location where the new 4 x 20 garden bed was to go in – and then made the structure.
I used some clear plastic around the perimeter of the bed and dug down an additional 4-6 inches. This is a barrier to hopefully prevent the Zoysia grass from moving into the bed like it did last year.
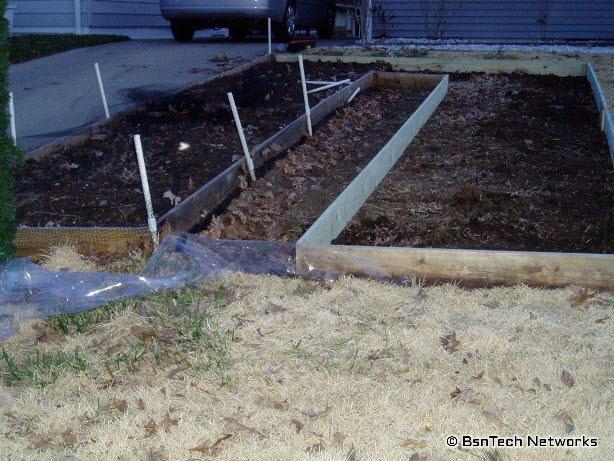
You can see some of the plastic in the bottom of the picture. I left some extra because I plan to also dig a trench by the wood of the old bed and do the same. The space between the two beds is two feet wide and this will allow us to walk between and harvest both beds. I'm not sure how to fill this area yet; I thought about pea gravel – but that is more expense and will then make this more permanent – which I'm wanting to prevent since this is in the front yard! Overall, it doesn't look too bad in the front yard – but it most likely will when this is filled with corn, peppers, broccoli, celery, and onions!
The wife and I made two trips to the compost facility with our buckets and large containers that would fit in the cars. The guy at the compost place said that they now charge $20 a square yard! Well, this is because there are two compost facilities right next to each other. The main compost facility receives all of the yard waste from the city and residents – this is where we got the compost for free last year.
Now, this facility trucks all of the half-composted material just 100 feet down to the next compost facility. This compost facility has large screening equipment and screens all the compost when it is done. They then sell the screened compost.
The screened compost is nice since it doesn't have any big pieces of wood or other stuff in it – but $20 a square yard!
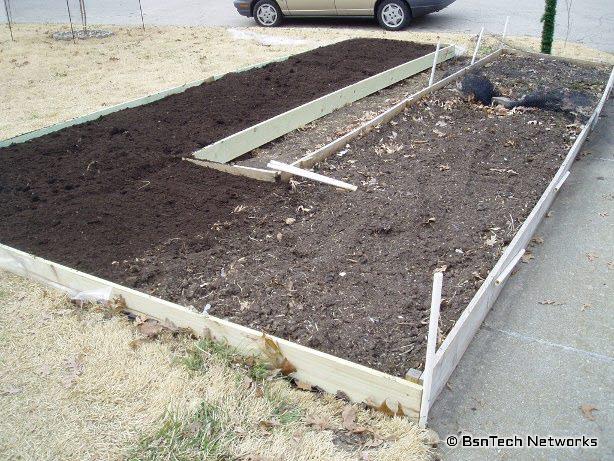
After the two trips, we were already wore out since we're out of shape. Filling buckets, taking home and unloading, and coming back for more was tedious and took about 30 minutes per trip. However, the owner of the compost place said that he delivers for $30. So, he gave us a bit of a break and only charged us $60 for delivering two square-yards of compost right onto our driveway. After this, we were able to fill both areas in about two hours! Much less time than it would have taken if we went back and forth.
It was a perfect day for working outside; it was partly cloudy and about 62 degrees. It is now raining today so that is why I took the day off work to get this done.
Getting The Irrigation System Ready
Since the rain barrels will be the primary method of delivering water to the beds, this year I had to run PVC pipe from the front yard all the way behind the garage. Overall, this was about 120 feet and took 12 10-foot sections of 1/2-inch PVC pipe. I didn't want this just lying out in the front yard, so I dug a trench in our landscaping rock and buried the pipe. Here you can see the long run (partially covered) and while it is very hard to see, there are two outlets on the bricks. One of them has a ball valve and a 3/4-inch male adapter so we can hook a hose to it and turn the ball valve on. This will help with watering the tree and the strawberries – or any other manual watering we need to do in the front yard using the rain barrels. Further off in the distance is another outlet that just has a 3/4-inch male threaded adapter on the end. This is where we'll hook one of the automatic timers to water the bed. This oneyou can't really see at all in the photo below as it blends in with the rock.
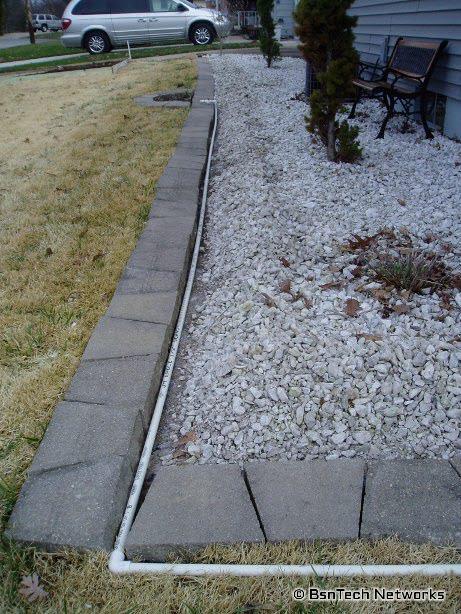
The PVC pipe then turns at a 90-degree angle (as seen just at the bottom of the picture). Unfortunately, this part has to be in the grass and I just hope I don't run over it with the mower! This piece goes straight back to the rain barrels which is about 60 feet from this point.
New Water Timer
I had been complaining to a work buddy about how I was a little fed up with water timers. With one of my previous posts, I went over the gallons per minute that the two water timers I have – and how the flow was restricted by quite a bit. I was telling him that someone just needs to invent a timer that has a straight-through pipe with a ball valve – and then a motor that would turn the ball valve open and closed when it was time.
Welp, Gilmour has made such a device! When I went to Menards to pick up the treated lumber to make the new bed in the front yard, they had this timer for $25 – and they also had the Nelson water timer that I already have for $30. So based on price alone, I chose the Gilmour timer. I hope it lasts quite a long time as I've read reviews about leaking problems. The Gilmour timer takes 4 AA batteries – unlike the Nelson timer that only takes 2 AA batteries. The Nelson timer has had the same two batteries in it for two years now – and is going on its third year! I wonder how the Gilmour timer will do on batteries.

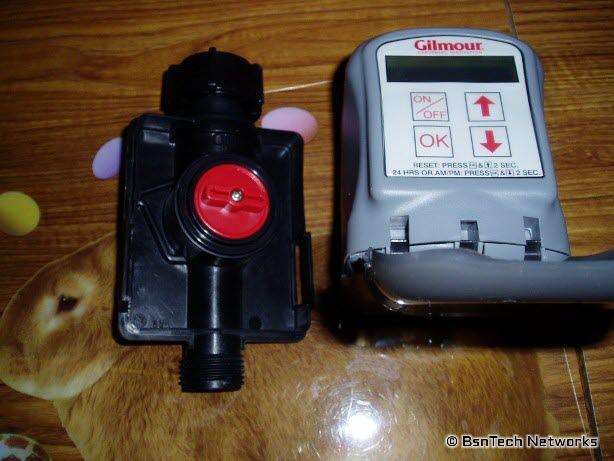
Since this has a ball valve (as seen above) with the pipe going straight through, this means that the flow is not restricted. Since it is raining today, I plan to test this thing out and see what the flow rate is per minute on this one! I guess you can consider this a low pressure automatic water timer – which is what I've been searching for.
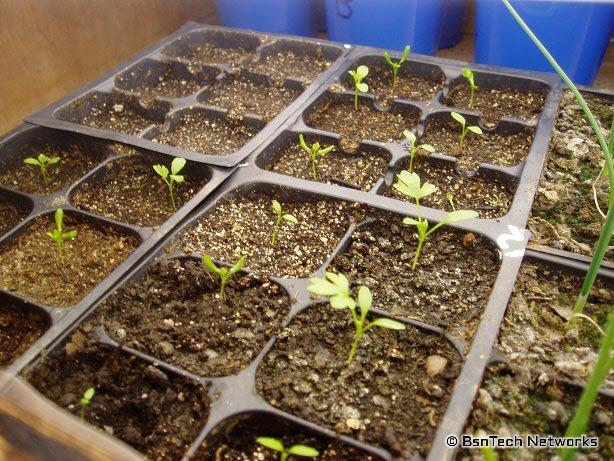
Seedling Update
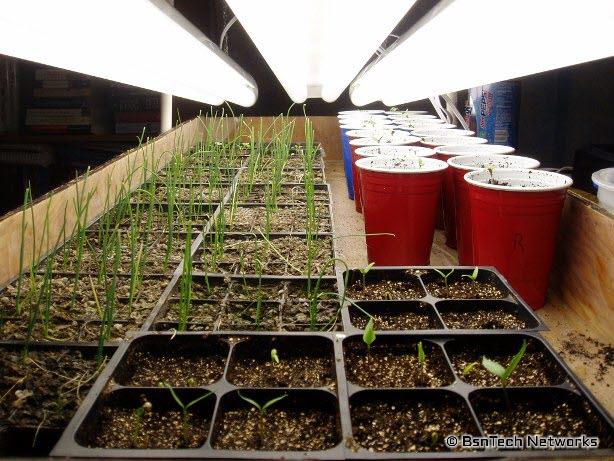
It is now seven weeks until our last frost date of May 11th for zone 5. Well, the average last frost date is April 27th, but the date that only has a 10% chance of frost for our area is May 11th – so I base our date off this.
I planted some Black Seeded Simpson, Buttercrunch, and Red Salad Bowl lettuce yesterday – three seeds per square. Each week for the next four weeks I'll be planting three seeds per square and then thinning to one of each. This way I'll have one plant of each of the three varieties over four weeks; this will give us 12 total salad plants. After the four weeks, I'll then begin to space them out to sowing three seeds of each every two weeks. This will give us (hopefully) a summer-long supply of lettuce. Last year the Black Seeded Simpson lettuce turned bitter after supplying us for about two months. Because home-grown lettuce is outstanding, we want to have lettuce throughout the season! The lettuce is being put in a location this year where it will begin to receive sunlight after about 1 pm until 8 pm – so it will be shaded for the first part of the day. Hopefully this will help keep the lettuce from turning bad.
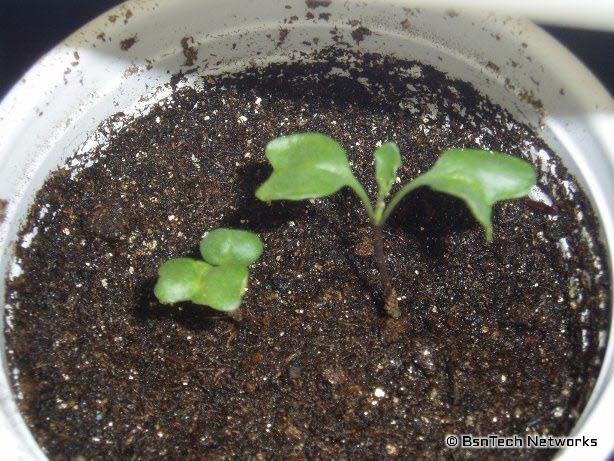
In other seedling notes, the Green Goliath broccoli is doing well. I store all the seeds in a ziplock bag in the freezer. I planted two seeds of broccoli in eight 16-ounce cups. Of those 16 planted total, 12 of them have come up! I only need eight broccoli plants, so maybe I can find a home for the other four.
The tomatoes are a different story. I planted two seeds of Best Boy tomatoes in six 16-ounce cups. Only five of those 12 planted came up. The seed is a year old and last year every single seed sprouted. So I just had to plant two more seeds yesterday. I only need four plants so I have enough, but would like to have a few to give away.
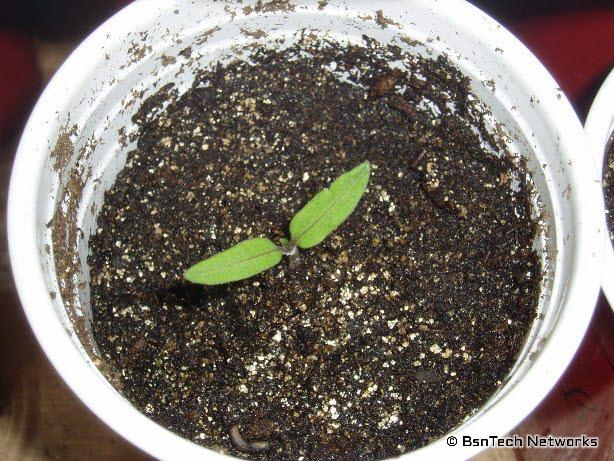
The Roma tomato and Cherry Tomatoes – I planted five seeds each in a 16-ounce container. I've had two Roma tomatoes come up and only one Cherry Tomato. Last year I had about half the Cherry Tomatoes come up and only about 25% of the Romas.
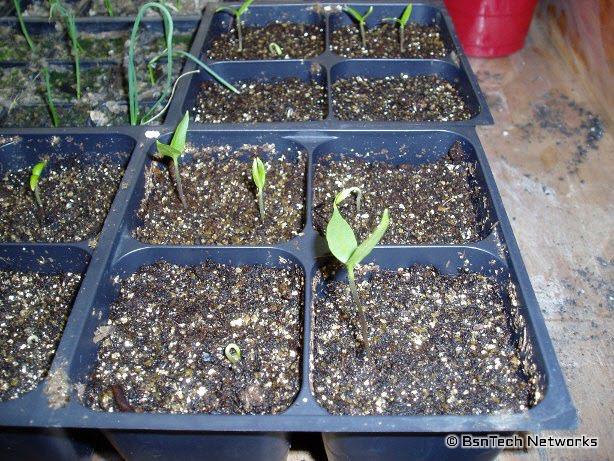
The peppers are doing fantastic! I planted two seeds in each of three four-packs – so a total of 12 squares and a total of 24 seeds. One four-pack I planted with seed saved from the pepper plants last year. Five of eight of those have sprouted. The other 16 were from year-old seed in a packet. Out of those 16, 12 have sprouted. So that just shows that saving seed and storing it properly works well! I only need eight pepper plants and since I have two peppers growing in many of the squares, I'll have to pull one of them. But, since there is at least one pepper growing in each square, I'll have four pepper plants to give away.
The onions are doing alright. I condensed all of them a few days ago. I used black 9-packs for growing these, and some of the squares didn't have an onion grow. So I dumped out the soil in those squares and replaced them with an onion from another 9-pack to fully fill them in. When it was all done, I had three 9-packs I fully emptied – which allowed me space under the growing area for the lettuce! Last I counted, I had about 110 onions that were still living.
The Ventura celery is doing well. There were a lot of new seeds coming up from the previous experiment – but I had to dump most of those as well. I have 18 celery plants – and I only need 16, but want to keep two extra for insurance.